Deploy Kubernetes with Minikube on macOS
Learn how to install and configure Minikube on macOS to create a lightweight, single-node Kubernetes cluster for local development and testing.
Getting Started with Minikube on macOS
Welcome to our comprehensive guide on setting up and using Minikube on your Mac! This tutorial will walk you through every step needed to run a local Kubernetes cluster for development, testing, and learning.
What is Minikube?
Minikube is a lightweight Kubernetes implementation that creates a virtual machine on your local computer and deploys a simple cluster containing only one node. It's designed for developers looking to try out Kubernetes or develop with it day-to-day.
Prerequisites
Before we begin, ensure your Mac meets these requirements:
- macOS 10.15 (Catalina) or newer
- At least 2 CPUs
- At least 2GB of free memory
- At least 20GB of free disk space
- Internet connection
Installation Process
Install Homebrew (if not already installed)
Homebrew is the package manager for macOS that makes installing development tools easy.
/bin/bash -c "$(curl -fsSL https://raw.githubusercontent.com/Homebrew/install/HEAD/install.sh)"
Verify the installation:
brew --version
Install a Hypervisor
Minikube requires a hypervisor to create virtual machines. You have several options:
Option A: Docker Desktop (Recommended)
- Download Docker Desktop from Docker's official website
- Install and launch Docker Desktop
- Ensure Docker is running:
docker --version
Option B: HyperKit
brew install hyperkit
Install Minikube
brew install minikube
Verify the installation:
minikube version
Install kubectl
kubectl is the Kubernetes command-line tool that allows you to run commands against your Kubernetes cluster:
brew install kubectl
Verify the installation:
kubectl version --client
Starting Your First Cluster
Basic Startup
Start Minikube with default settings:
minikube start
This command:
- Downloads the Minikube ISO
- Creates a VM with Docker or your chosen hypervisor
- Configures the Kubernetes components
- Configures kubectl to use the Minikube cluster
Customized Startup (Optional)
You can customize your cluster during startup:
minikube start --cpus=4 --memory=8192 --disk-size=30g --driver=docker
This creates a cluster with:
- 4 CPU cores
- 8GB of RAM
- 30GB disk space
- Using the Docker driver
Verifying Your Installation
Check Cluster Status
minikube status
You should see output similar to:
minikube
type: Control Plane
host: Running
kubelet: Running
apiserver: Running
kubeconfig: Configured
View Kubernetes Components
kubectl get pods -A
This shows all pods across all namespaces, including system pods that run Kubernetes itself.
Working with Your Cluster
Access the Kubernetes Dashboard
Minikube includes the Kubernetes Dashboard for visual management:
minikube dashboard
This opens the dashboard in your default web browser.
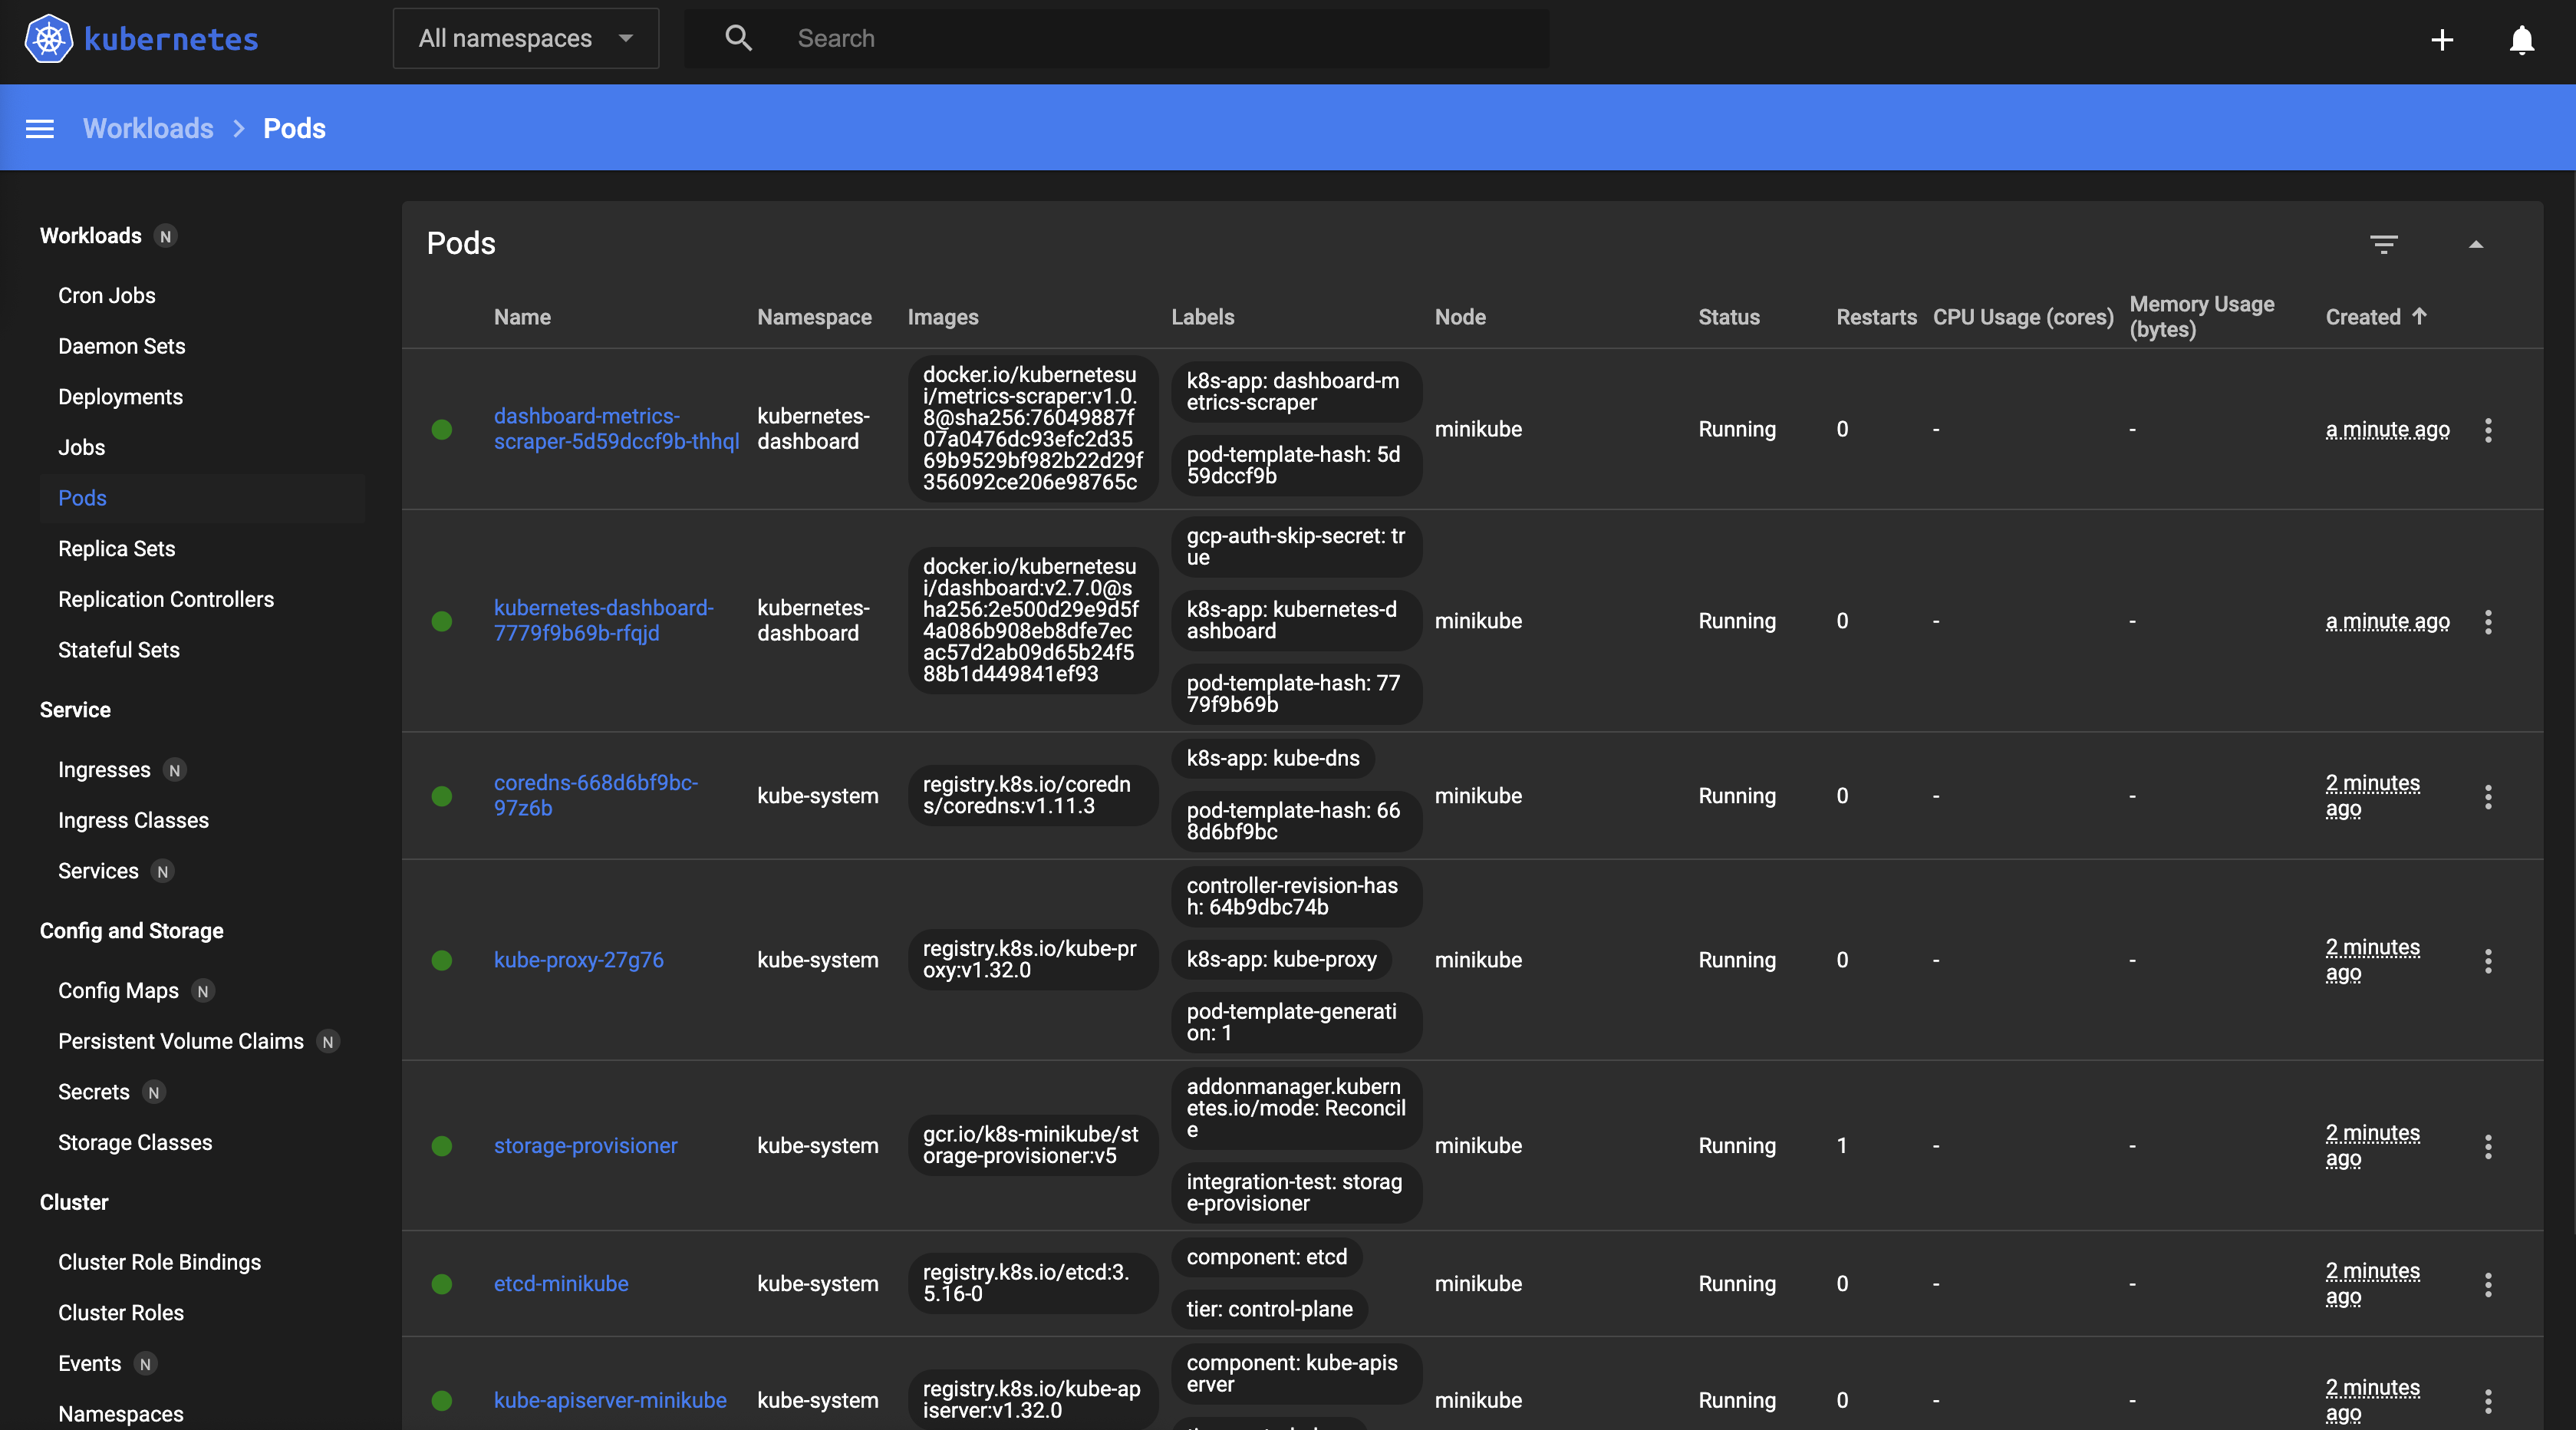
In the dashboard that opened in your browser, switch the 'default' namespace to 'All Namespaces', and choose Pods on the left pane of the screent.
You should see something like this:

The dashboard provides a comprehensive view of your cluster's resources, including pods, deployments, services, and more. It's a great way to visualize what's happening in your Kubernetes environment.
Deploy Your First Application
Let's deploy a simple hello-world application:
# Create a deployment
kubectl create deployment nginx-demo --image=nginx:latest

# Expose it as a service
kubectl expose deployment nginx-demo --type=NodePort --port=80
Access the service:
kubectl port-forward svc/nginx-demo 8080:80
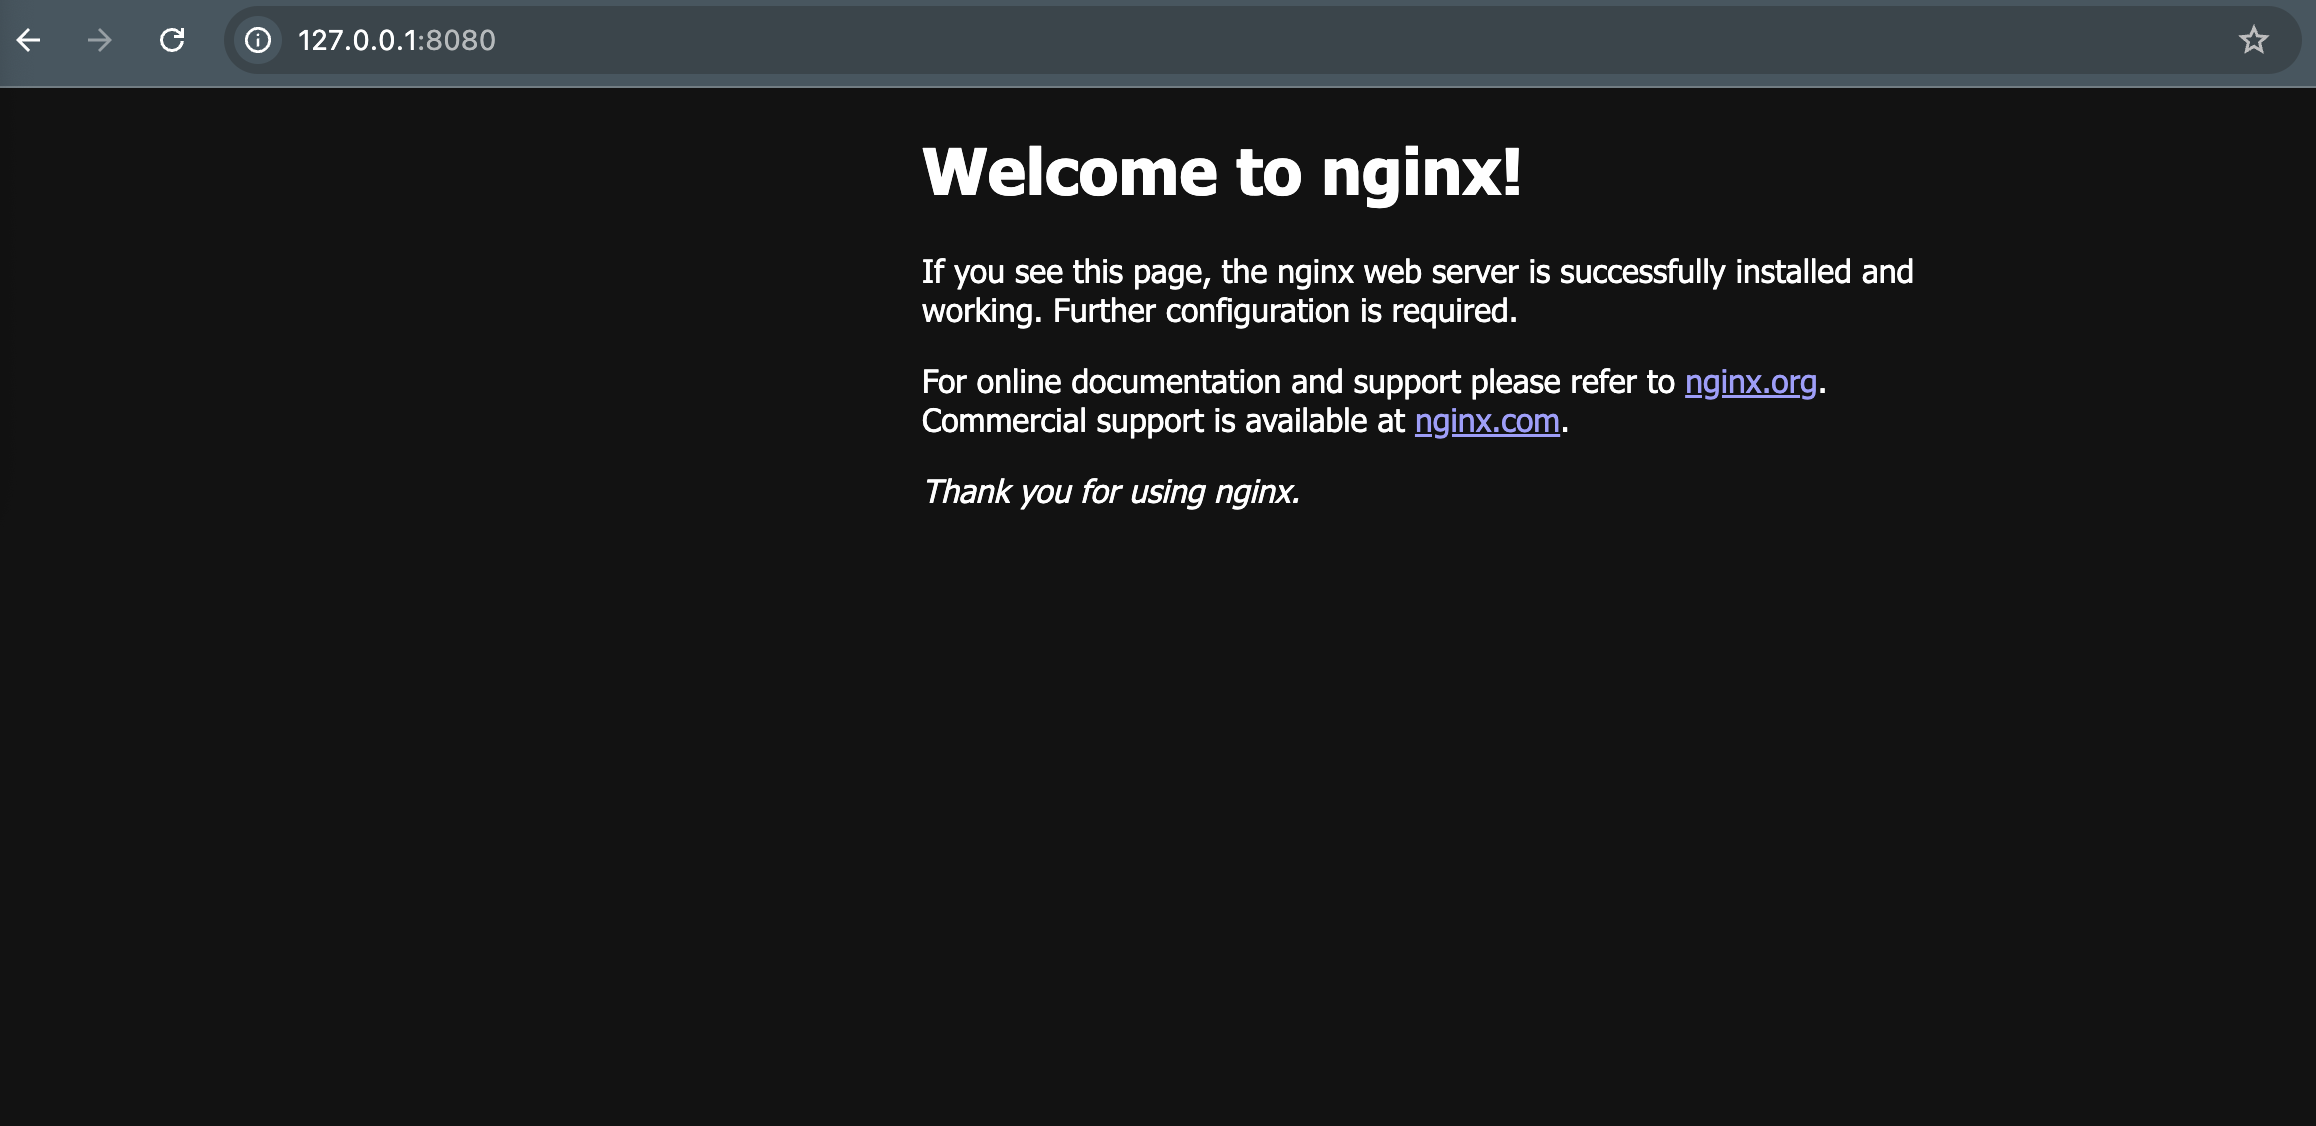
Open your browser and go to http://127.0.0.1:8080 and you should see something like this:

Use your own Docker images in Minikube
Point Minikube at the Docker Daemon
If you're building Docker images for use with Minikube:
# Point your terminal to minikube's docker-daemon
eval $(minikube docker-env)
Build a custom Docker image
# Pull NginX Docker image
docker pull nginx

# Build a Docker image from nginx using CLI only
cat > Dockerfile << EOF
FROM nginx
COPY index.html /usr/share/nginx/html/index.html
EOF

# Create a simple HTML file
echo '<html><body><h1>Hello from KubeSchool!</h1></body></html>' > index.html

# Build the image
docker build -t custom-nginx:latest .
Use your custom built Docker image
# Use the image in Kubernetes without pushing to a registry
# We need to use a YAML file to set imagePullPolicy to Never
cat <<EOF | kubectl apply -f -
apiVersion: apps/v1
kind: Deployment
metadata:
  name: custom-nginx
spec:
  selector:
    matchLabels:
      app: custom-nginx
  replicas: 1
  template:
    metadata:
      labels:
        app: custom-nginx
    spec:
      containers:
      - name: custom-nginx
        image: custom-nginx:latest
        imagePullPolicy: Never
        ports:
        - containerPort: 80
EOF

# Expose the deployment as a service
kubectl expose deployment custom-nginx --type=NodePort --port=80

# Forward the service port to access from your local machine
kubectl port-forward svc/custom-nginx 8081:80
Managing Your Minikube Cluster
Stop the Cluster
When you're done working, stop the cluster to conserve resources:
minikube stop
Start Again
Resume where you left off:
minikube start
See the things you deployed on it before:
kubectl get pods
Delete the Cluster
To completely remove the cluster:
minikube delete
Work with Multiple Clusters
You can run multiple Minikube clusters by specifying profiles:
# Create a second cluster
minikube start -p cluster2

# Switch between clusters
kubectl config use-context minikube
kubectl config use-context cluster2
Advanced Features
Enable Add-ons
Minikube includes several add-ons that extend functionality:
# List available add-ons
minikube addons list

# Enable an add-on
minikube addons enable ingress

# Disable an add-on
minikube addons disable metrics-server
Popular add-ons include:
- ingress: For HTTP/HTTPS routing
- metrics-server: For resource metrics
- registry: Local Docker registry
- dashboard: The Kubernetes Dashboard (enabled by default)
Mount Local Directories
Share files between your Mac and the Minikube VM:
minikube mount ~/my-project:/data/my-project
Access via SSH
For direct access to the Minikube VM:
minikube ssh
Troubleshooting Common Issues
Insufficient Resources
Symptom: Minikube fails to start with resource-related errors.
Solution: Increase allocated resources:
minikube start --cpus=2 --memory=4096
Driver Issues
Symptom: Problems with the VM driver.
Solution: Try a different driver:
minikube start --driver=hyperkit
# or
minikube start --driver=docker
Network Problems
Symptom: Unable to pull images or connect to the cluster.
Solutions:
- Check your internet connection
- Verify Docker is running
- Try with a different driver
- Reset the cluster:
minikube delete
minikube start
kubectl Configuration Issues
Symptom: kubectl commands fail with connection errors.
Solution: Ensure kubectl is configured correctly:
minikube update-context
Conclusion
Minikube provides a powerful way to run Kubernetes locally on your Mac. With this guide, you should be able to set up, manage, and use your local Kubernetes cluster effectively for development and learning purposes.
Remember to stop your cluster when not in use to conserve resources, and don't hesitate to explore the many features Kubernetes offers, even in this local environment.
Happy Kubernetes journey!
KubeSchool just got started, and we're gradually adding more content.
We'd love to get requests for specific topics you'd like to see, or just general feedback.